

Update Gmail Labels in bulk with Labels Manager for Gmail
How to bulk update Gmail labels with Labels Manager for Gmail
Updating Gmail labels may involve renaming them, turning child labels into parent labels (or vice versa) or moving child labels to different parent labels.
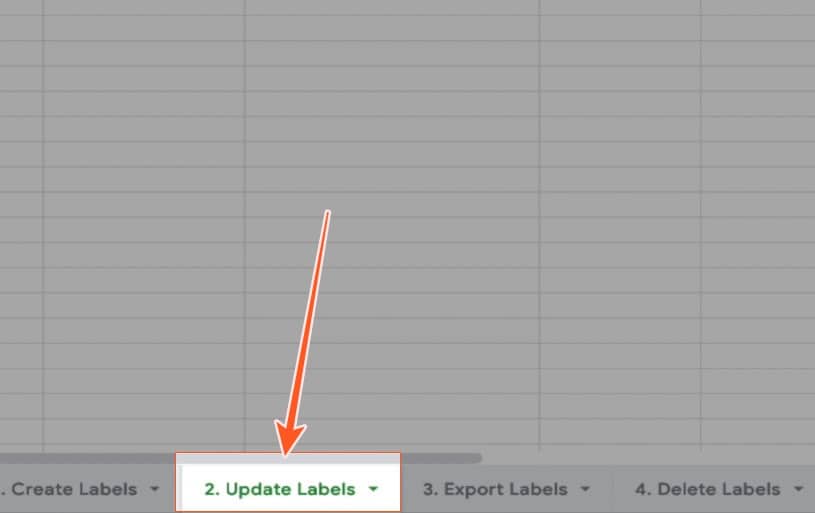
1 Select the “2. Update Labels” worksheet.
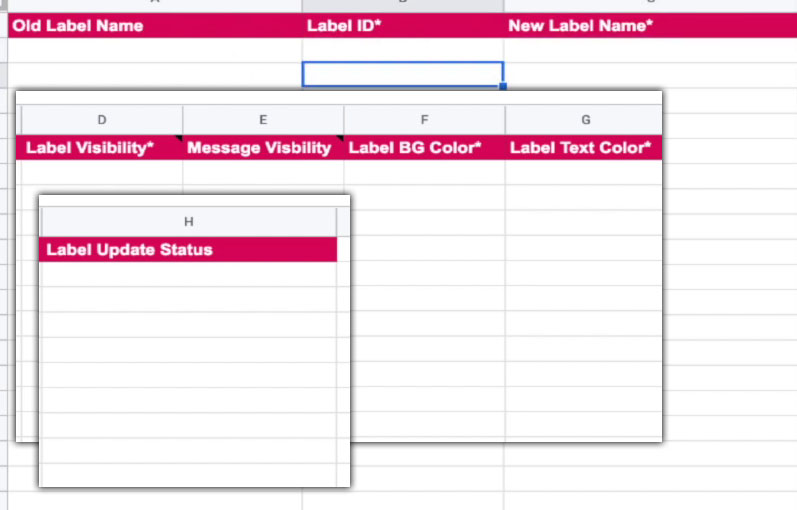
Since there are many columns, I have sliced the image and rearranged different portions so that you can see all the columns without having to see a very wide image.
Except for the “Label Update Status” column, you have to fill up information in every column.
Most of the column headers are self-explanatory, if you’re wondering what is “Label ID”, please refer to the “How to bulk export Gmail labels” section.
Label IDs uniquely distinguish one label from another.
The tiny triangles that you can see on the top-right corners of the column headers indicate that values in these columns can be obtained from drop-down options, something like:
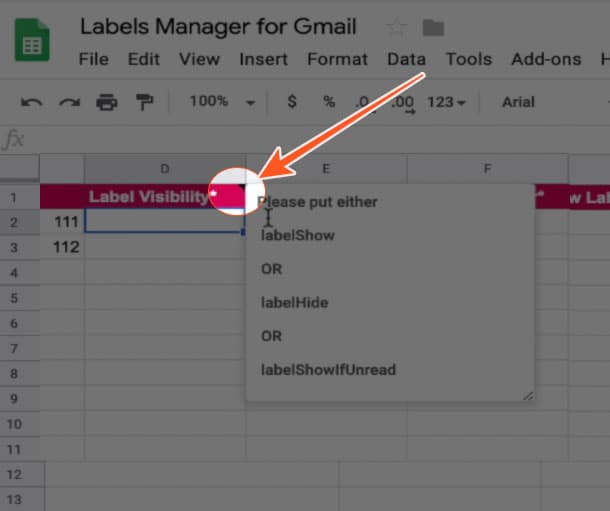
Please refer to the “Bulk creating new Gmail labels” section to know what hexadecimal values can be used for background and text colours of your labels.
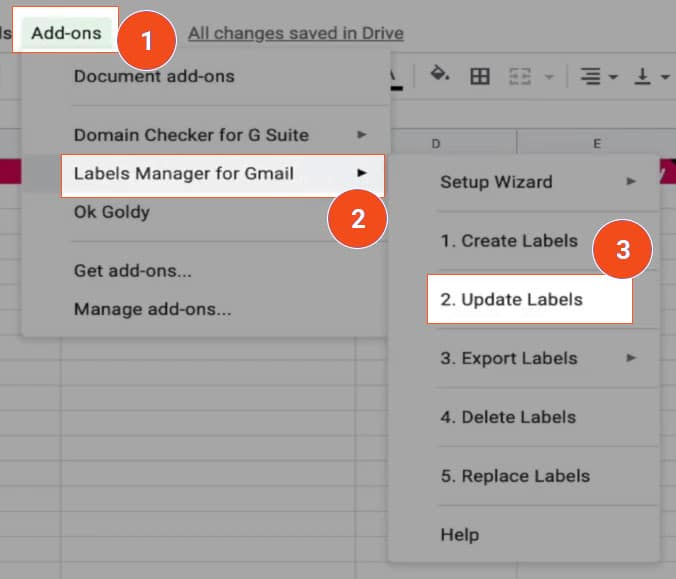
After filling in all the values, run the “update labels” module through the following command path:
Add-ons >> Labels Manager for Gmail >> 2. Update Labels
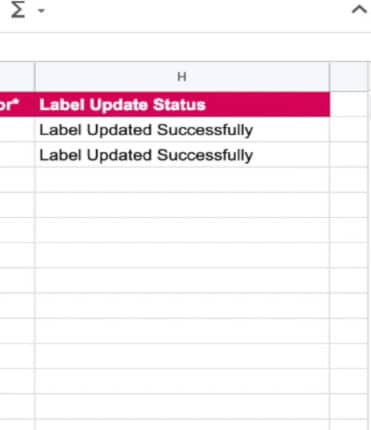
The “Success status” column shows you that the labels have been successfully updated.
But what if you don’t need to change all this information? Perhaps you just want to change the names of the Gmail labels?
I should have created another module called “Update Labels Lite” within the “Update Labels” module, but for the time being, you can go to the “5. Replace Labels” worksheet if you simply want to change the names of the existing Gmail labels.
Again, to fill up the values in this worksheet, you will need to refer to the section where I explain how to export Gmail labels, so that you can get the needed values.
In the “5. Replace Labels” worksheet, you need to include the following information: “Old Label Name”, “Label ID” and “New Label Name”.
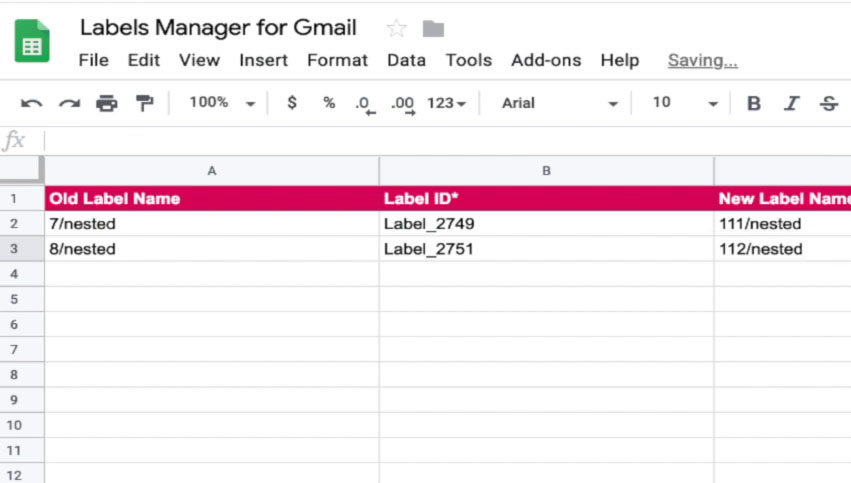
Although you can use this worksheet to rename labels, I’m taking this opportunity to explain how you can also move one nested label from under an existing parent label to under another parent label.
In the above screenshot you can see that I’m trying to move the labels “nested” from two parent labels “7” and “8” to “111” and “112”.
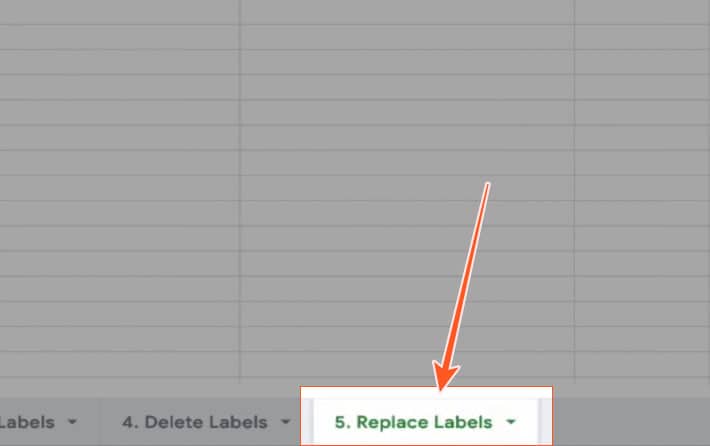
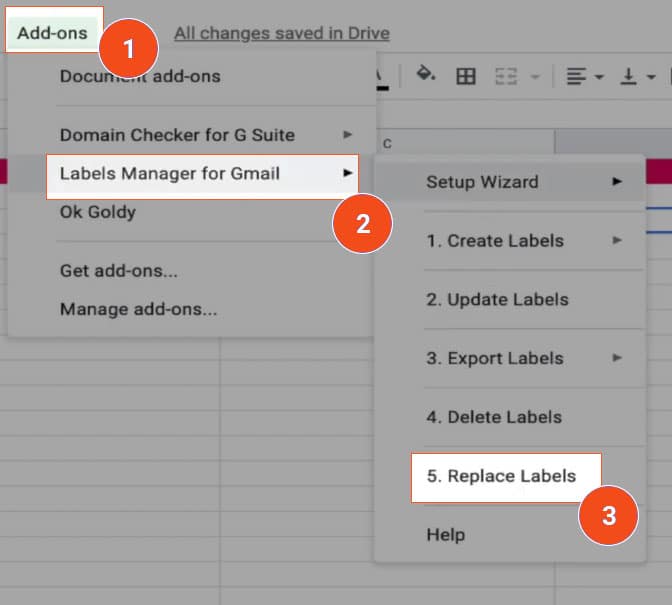
Run the “Replace Label” module using the following command path:
Add-ons >> Labels Manager for Gmail >> 5. Replace Labels
Whether you want to rename the labels or you want to shift nested labels to different parent labels, just enter the new name under the “New Label Name” column, accordingly.
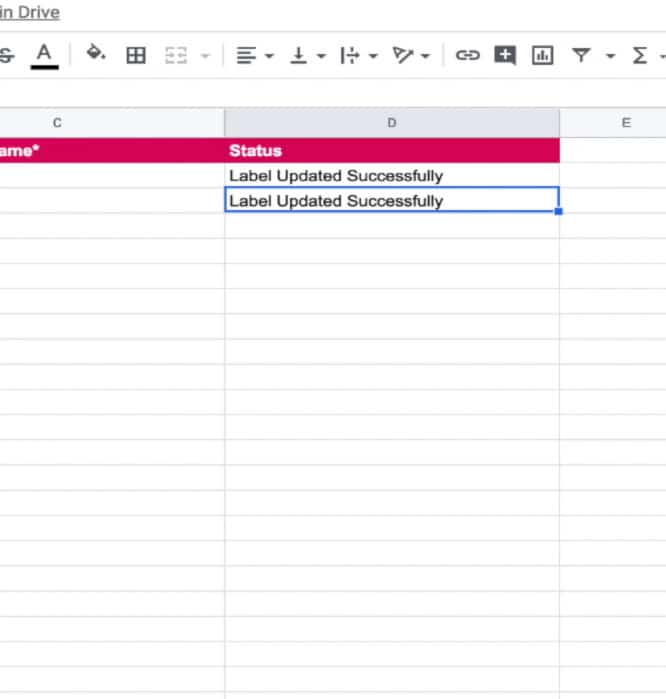
The Status column shows you that the Gmail labels have been successfully replaced or renamed.
Related Posts
....


