

Assign Archive License via CSV
In this section, let us explore way to archive (and unarchivd) multiple Google Workspace users at once via uploading a csv file.
Assign Google Workspace Archive User License to multiple users via CSV file.
- if you have more than a users to archive, it would be painful to do it one by one, fortunately Google provides flexibility to assign Archive license to multiple users at once via CSV file.
- Let me show you how you can create the required CSV file and bulk archive required Google Workspace users.Step 1 – Prepare the CSV File
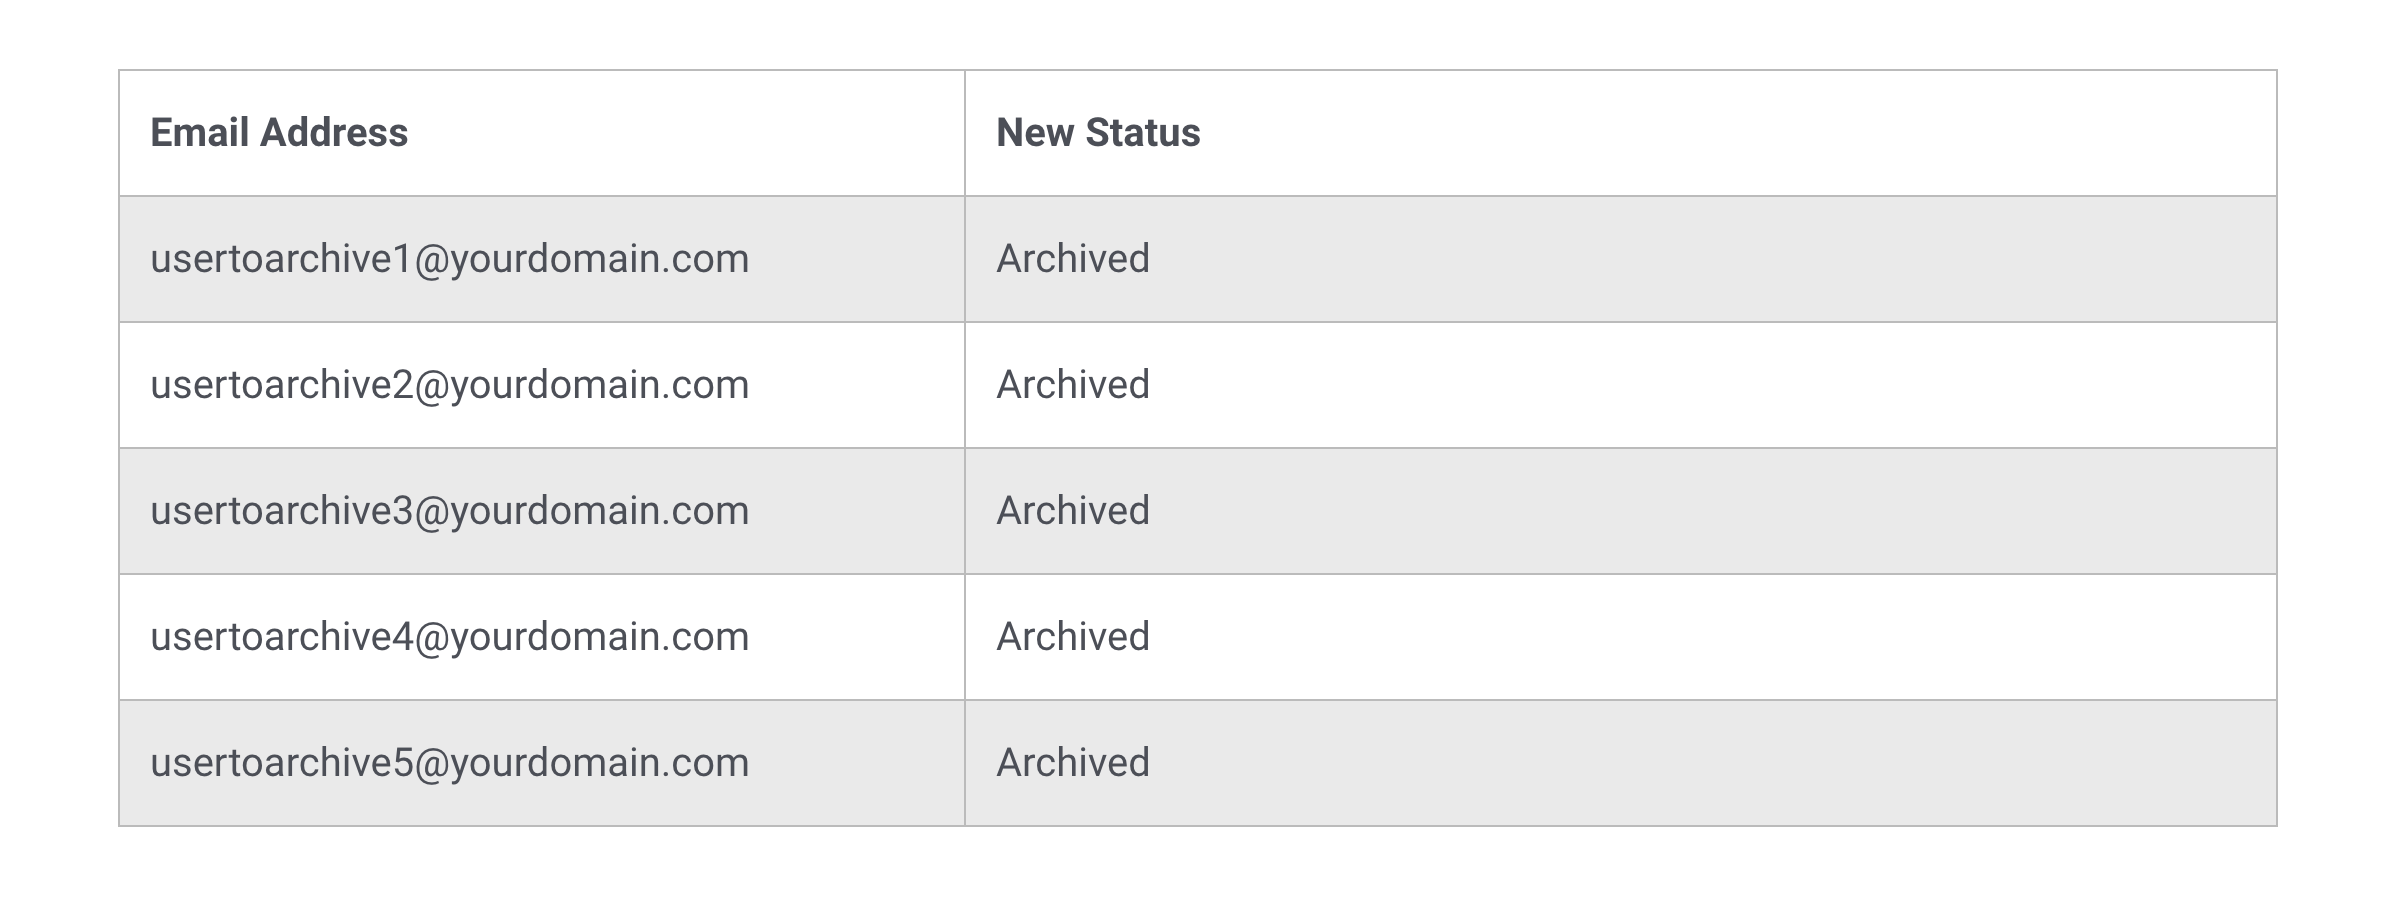
- All you need in your CSV file is two columns named-:
(i) Email Address
(ii) New Status
1. Column 1 – Email Address should have user’s Primary Email Address (Alias email would also work, but better to put primary).
2. Column 2 – New Status should be archived
- Here is how your sample csv would look (You can also make a copy of this sample Google sheet to save some time-:
Now let us upload this csv file in Google Workspace Admin console to apply archive license SKU.
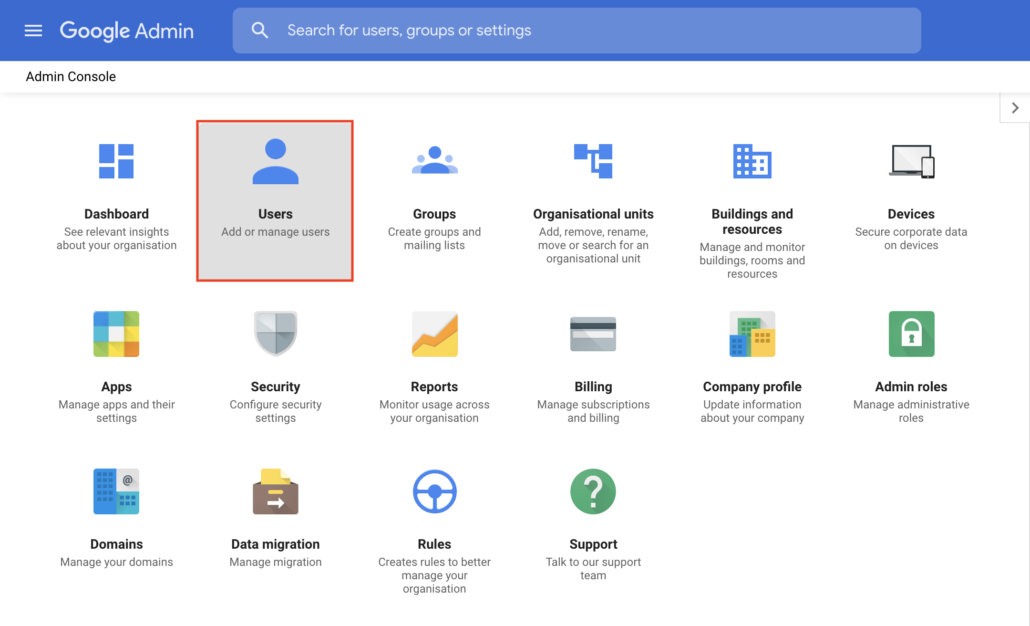
1. Login to Google Workspace Admin Console and Go to Users
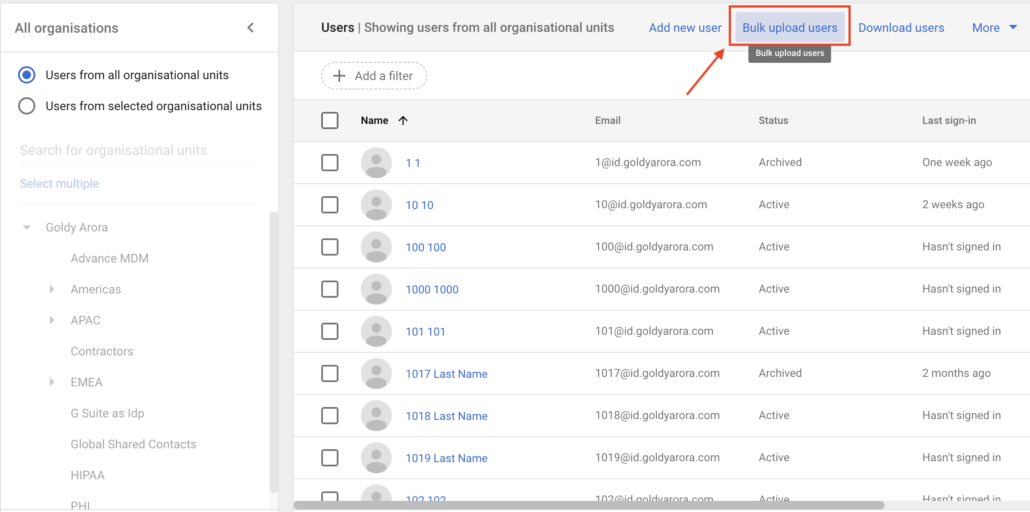
2. Click on “Bulk Upload Users” as shown in the screenshot below.
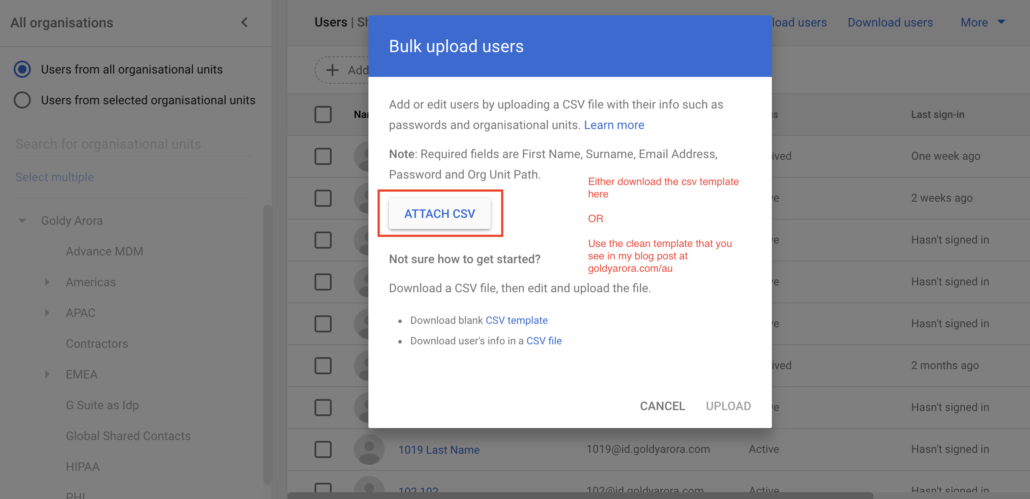
3. Attach your csv file as explained above, you can also use this Google sheet Archive User CSV template.
— Once you attach your archive user file, click on upload.
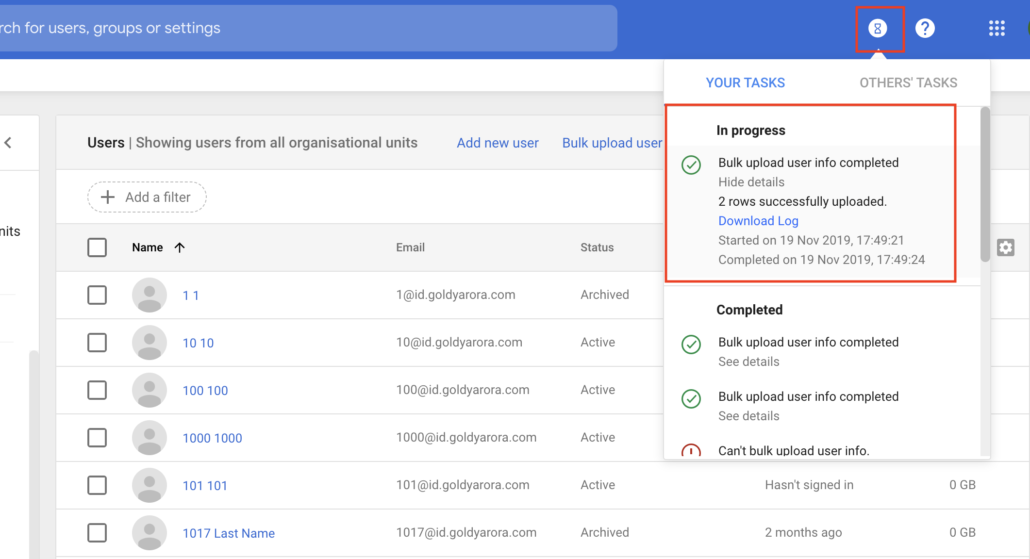
4. You will now see the progress in “Your Tasks” as you see in the screenshot below.
— Depending on the number of users in your archive user csv file, it may take a few seconds to minutes, and once complete, Google will show you the result (e.g success or error) along with option to download the log file.
UnArchive multiple Google Workspace users via CSV file.
Create CSV file-:
You CSV file should have two columns-:
Column 1 – Email Address – this should contain user’s primary email id.
Column 2 – New Status (this should contain the word Active).
Your final CSV will look like the following one-:

Now follow the same process as we followed while archiving the users (e.g upload this csv file in Google Workspace Admin console –> Users . –> Upload bulk users –> attach your csv.
If everything goes fine, you would see the success message in the tasks (as shown here), and all your users in csv will be unarchived.
Related Posts
....


