

Fix Gtemp account (reverse google account from @gtempaccount.com to user@domain.com)
Hey there. Thank you for joining in, this is Goldy again, welcome to definitive guide to Google Conflicting accounts.
In this video, I'll be talking to you about something very specific that you might run into if you are using Google Workspace, or Google Cloud identity.
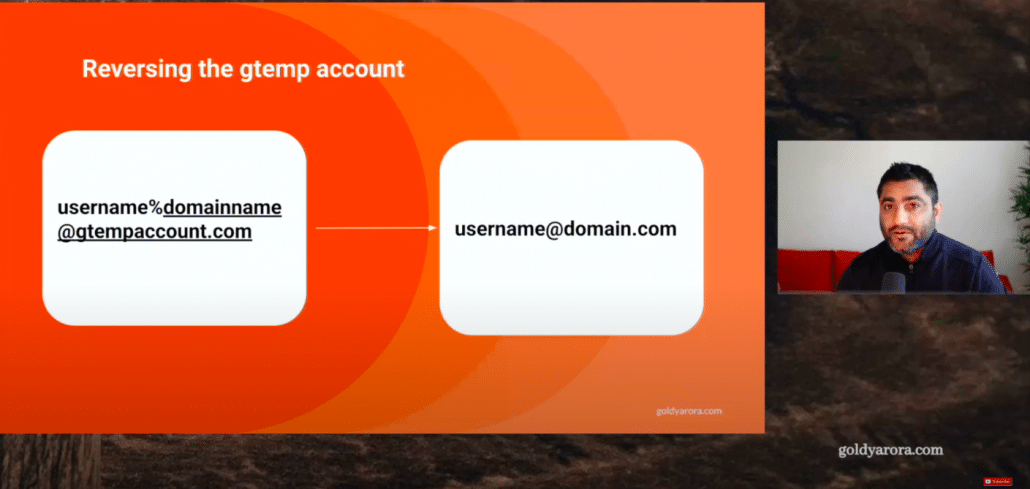
In case you have seen this @gtempaccount email address, maybe if you are a user or a Google admin that your account has been renamed to username domain name gtemp account dot com, then this video is for you. We will be reversing it back to your original email address.
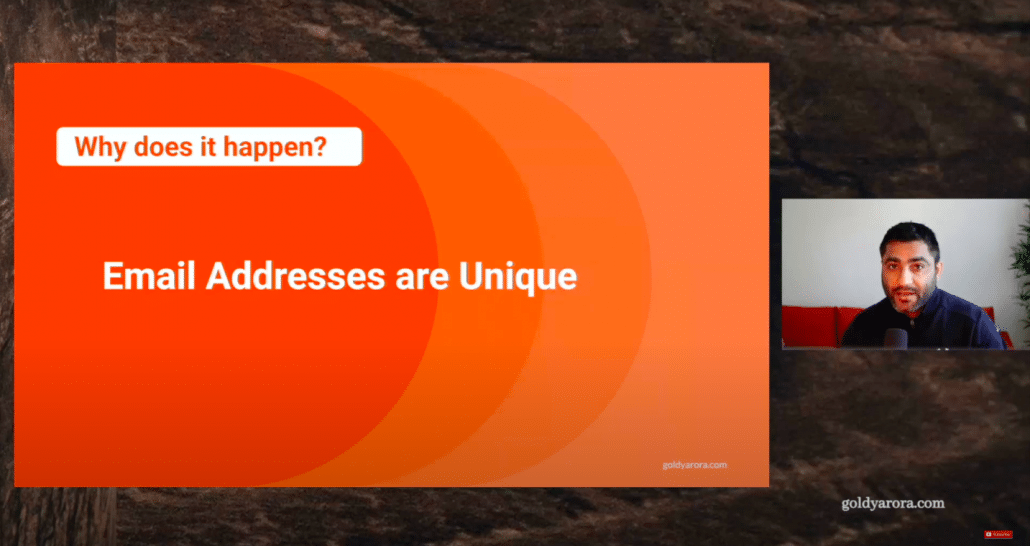
But before we do that, let's understand, why did this happen in the first place? So for that, just keep this in mind that email addresses are unique, which means once you create an email address, nobody else can take that same email address.
So what happened was that you had created a personal or consumer Google account with your corporate email address. So you already had an account in Google's infrastructure.
Now your admin or your company signed up for either Google Workspace or maybe Google Cloud identity, they verified their domain to Google, which means they have rights to claim or create any email address on this domain.
You as a consumer user do not have that right.

So as an admin, you went to your Google Admin console, you tried to create this account then you saw this message which says this user already had an account as a consumer, or it's a personal account.
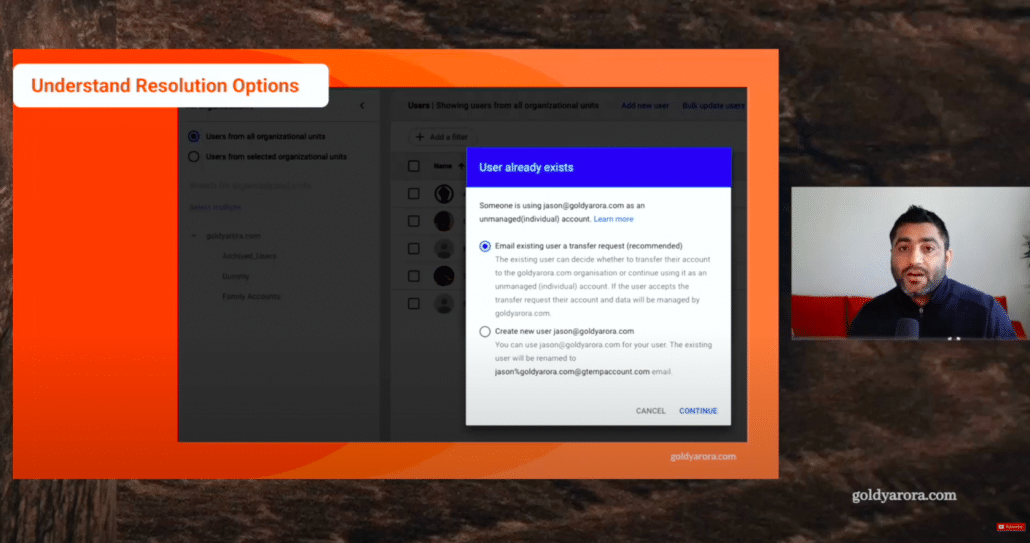
So you have two options, either you can request them so that they can transfer their data from personal to work account and their account will be converted from personal to work.
The second option was that you can go ahead and create an account for this user, but their personal account will then be renamed to this gtemp account because email address is unique, you can not have two separate Google accounts (e.g personal and company account with the same email address).
If you create their account in your work console or as a work account, then their consumer account can't have that same email address So that account will be renamed to this Gtemp account.
This is what exactly happened, which turned your email address into this gtempt account.
Now, that may be because your admin did not pay enough attention or he was not aware of this outcome or whatever happened, now, the problem is that because for some reason you need to change this email address back to your original email address.
In this video, I'll show you how to do that, so first, let's understand who is required to fix it reverse.
1. Your Google admin (can be your Google Workspace admin If you're using Workspace or your Google Cloud Identity admin)
2. Google personal / consumer account owner.
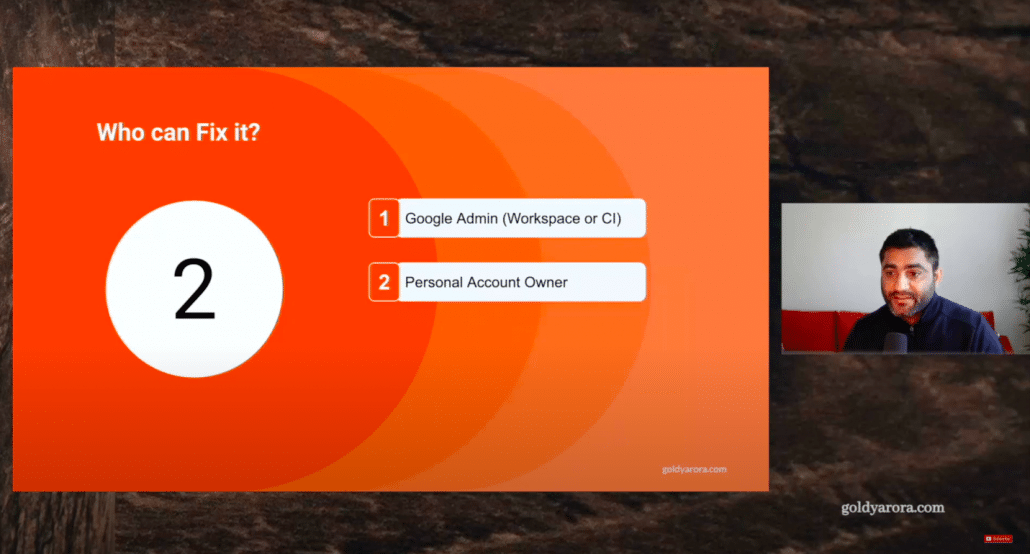
So in case if you own that account, your involvement is also required in this scenario. Now, before I share my screen and show you how you will get this done, let me first help you understand the journey that we will take to reverse from gtemp account to the original account.
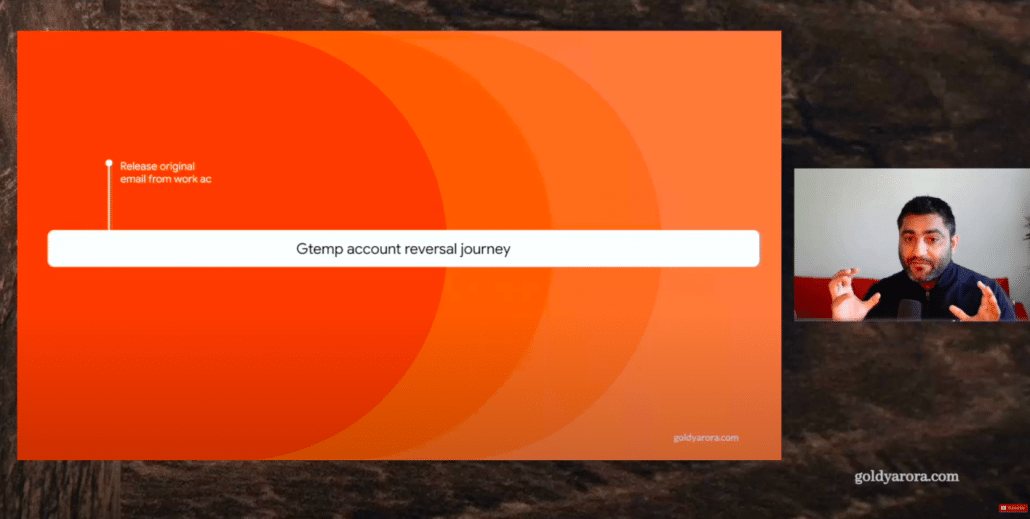
So first step is to release the email from your work account. So if let's say you had your email which is user at Example. Com, you will go to your example com Google admin console where you have created this user at Example. Com and you will need to release that email.
You can release it by either deleting that account or maybe you can rename that account (and delete an alias which Google creates by itself).
Second step would be to arrange an option to receive email on the original ID, because if you look at the step number three, which is change email on personal account.
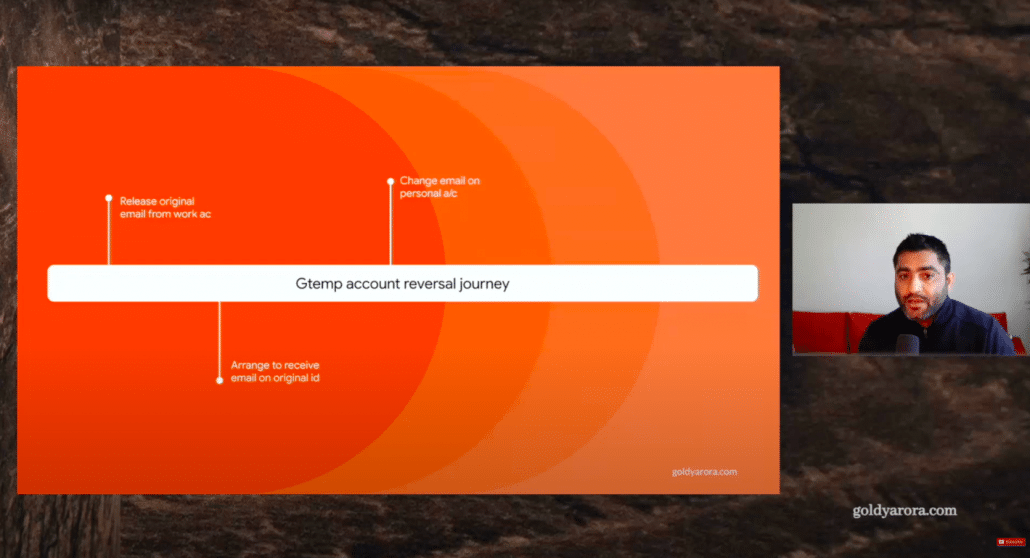
So what we are doing here is we are releasing that email user @ Example. Com then we will go to our personal account and we will say Google, we still own that email which is user at Example com So give us that email address and help us get rid of our gtemp account.
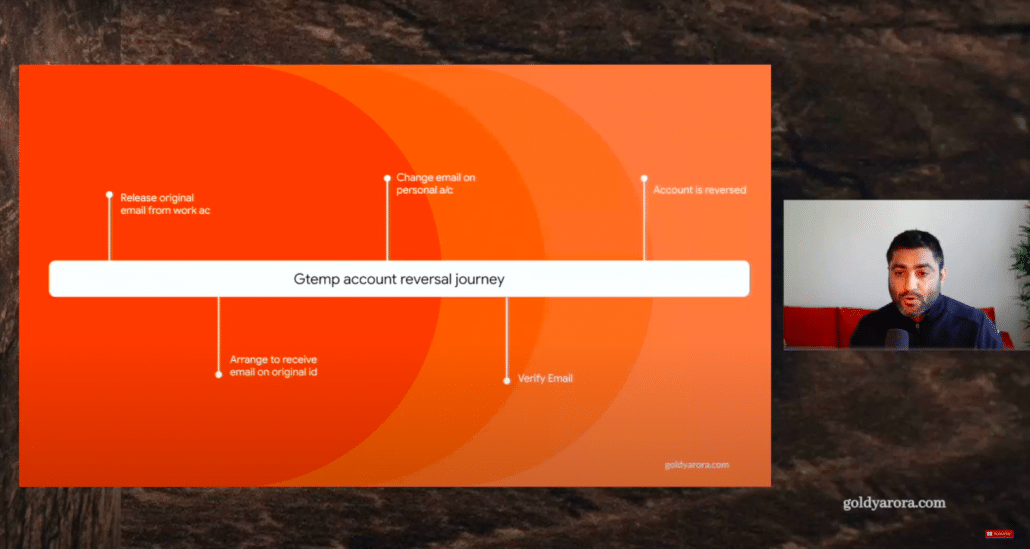
Google will say that's fine, but first you will need to verify that you still own user at Example com and for that I will send you a verification link on that email, so make sure that you have made arrangements to receive email which is sent to user at example com.
Once you get that link, you will click on that link. You will verify that email ownership to Google, Once you do that, that account will be reversed and your Temp account will be renamed back to the original ID that you have.
So with that understanding in place, now let me share my screen and show you that in action.
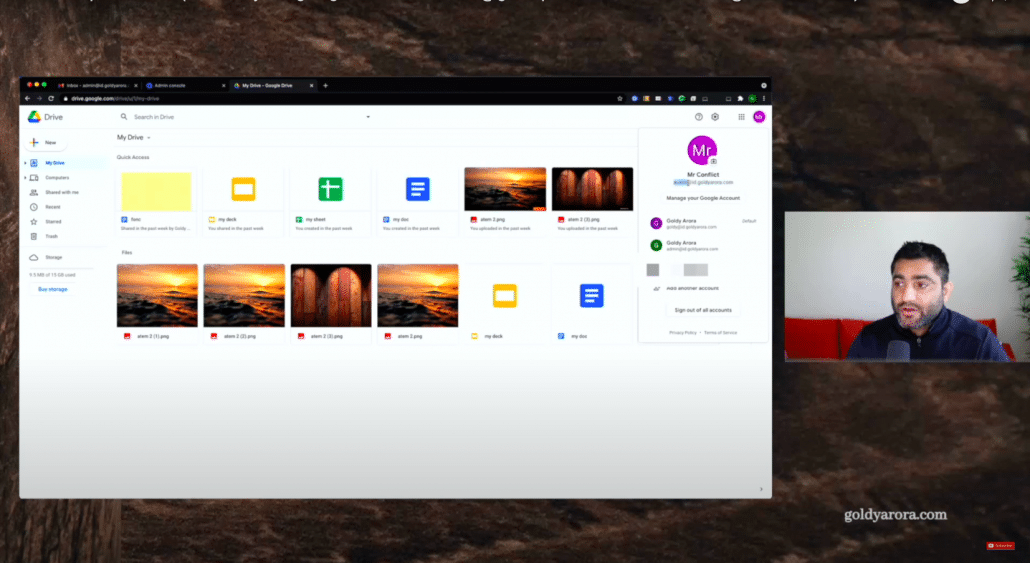
So I'm in my Google Drive and Google Drive belongs to my consumer account on my personal account, which is austin at my domain.com.
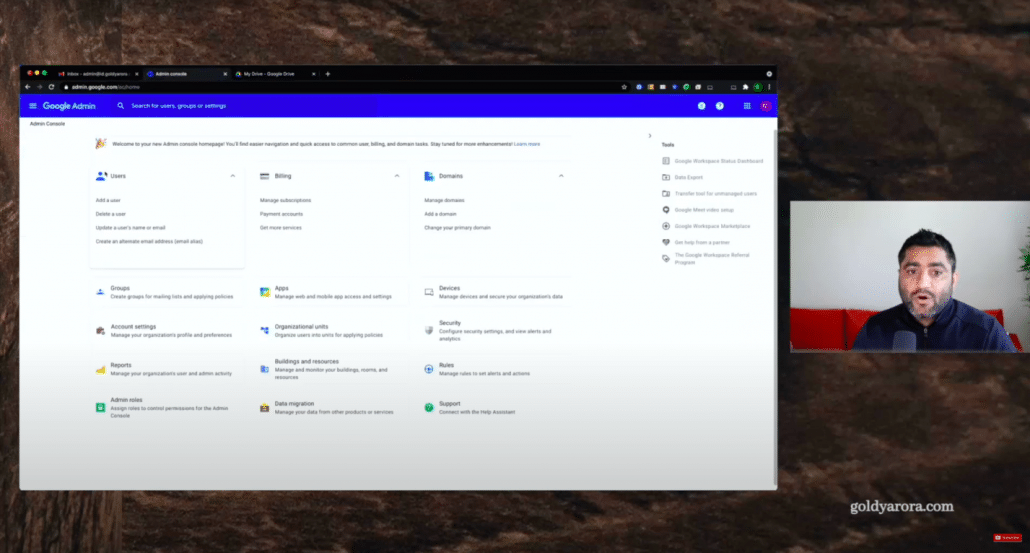
Now I will go to my admin console and I will create a user. .
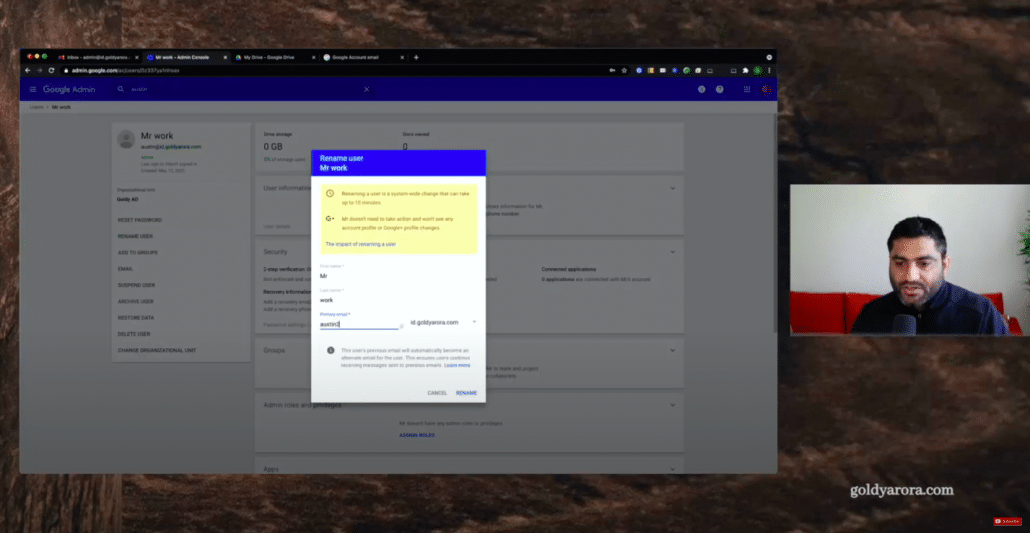
let's call this user Mr. Work and give it the same email ID which is Austin, and then I will also put a password for this user.
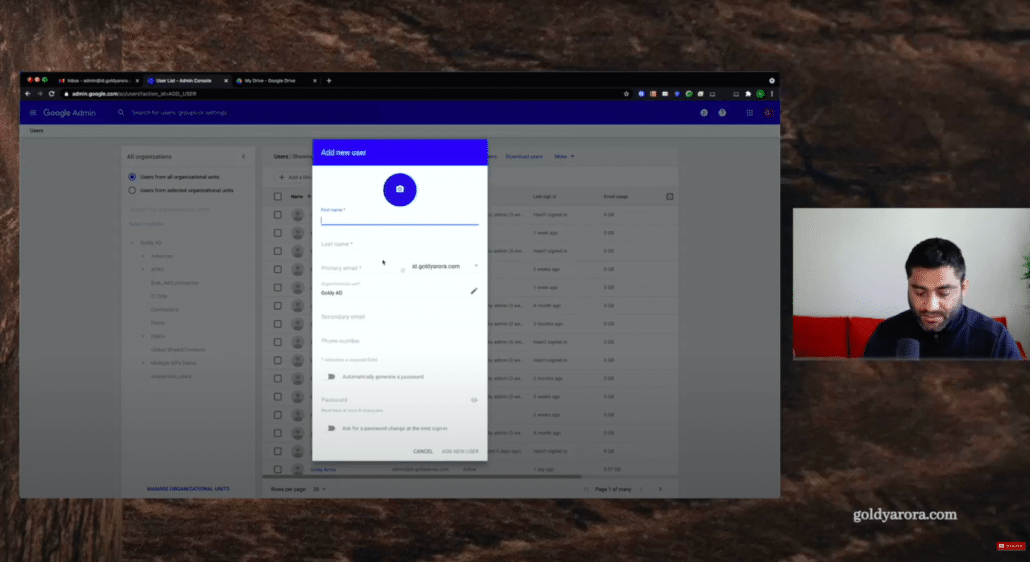
But you will notice that as soon as I create a new user, it says this user already had a consumer or an unmanaged account.
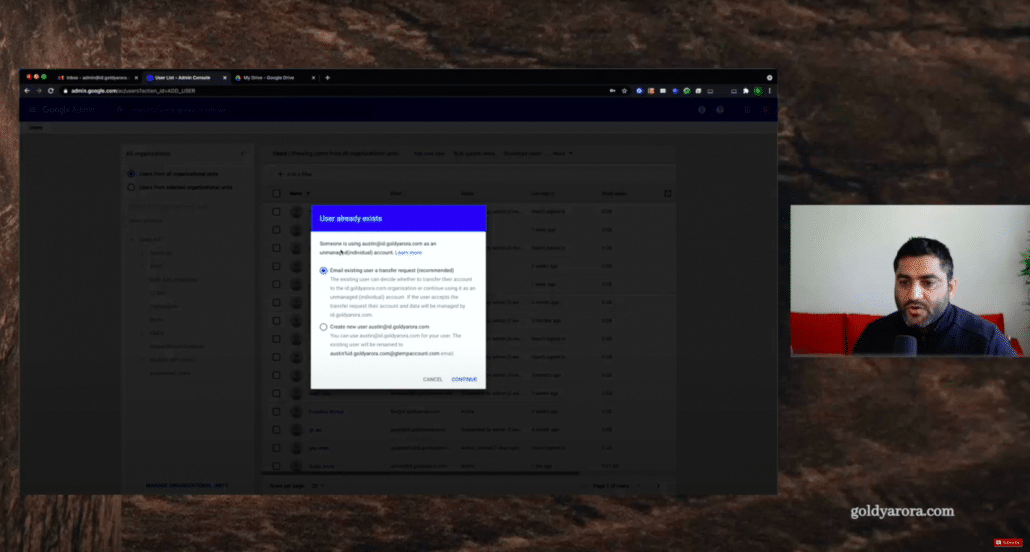
So now I have two options, as an admin, I can send him an email request so that he can accept that request, his account will be converted from personal to work account and his data would also be migrate to Work account.
But the case that we are discussing in this video is that you decided to not go with this option which will rename his email to this gtemp account.
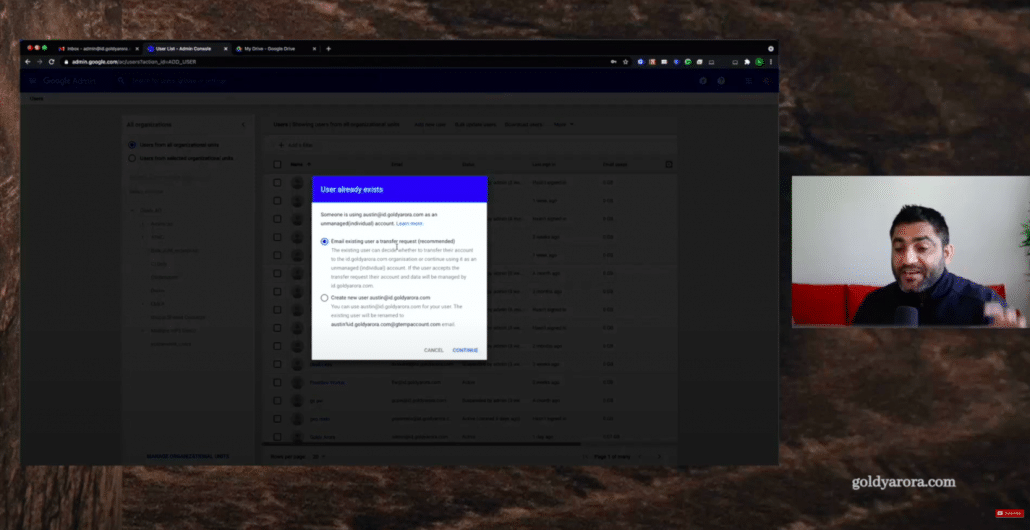
So I will click on continue.

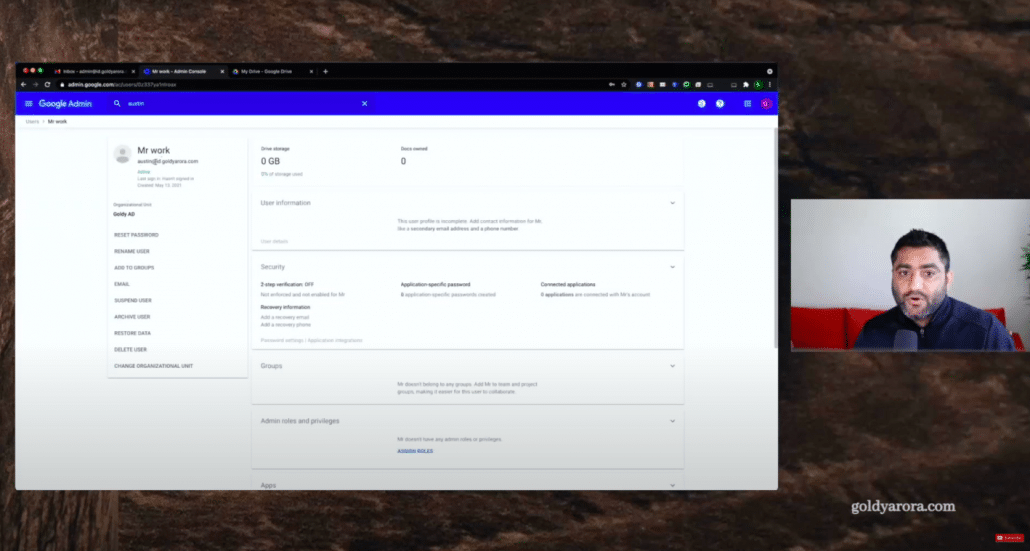
Austin's account is created. All good here.

If I search, I can see that I was able to reserve or claim this email because I own this domain, not Austin does it. So I have this email.
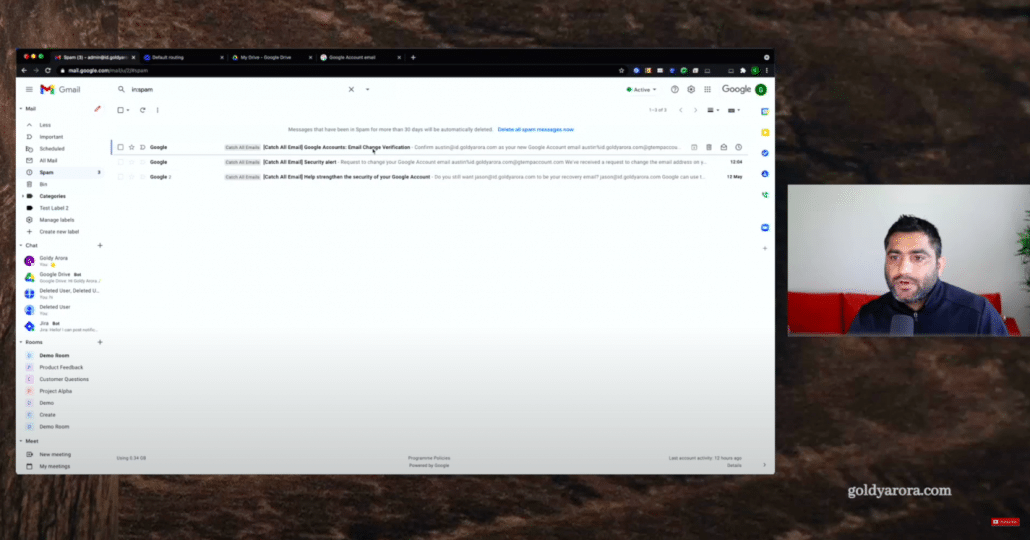
But now if I go to my Consumer account and if I do a quick refresh here, you will notice that his email is now changed to this Temp account, and this is what we are reversing in this video.
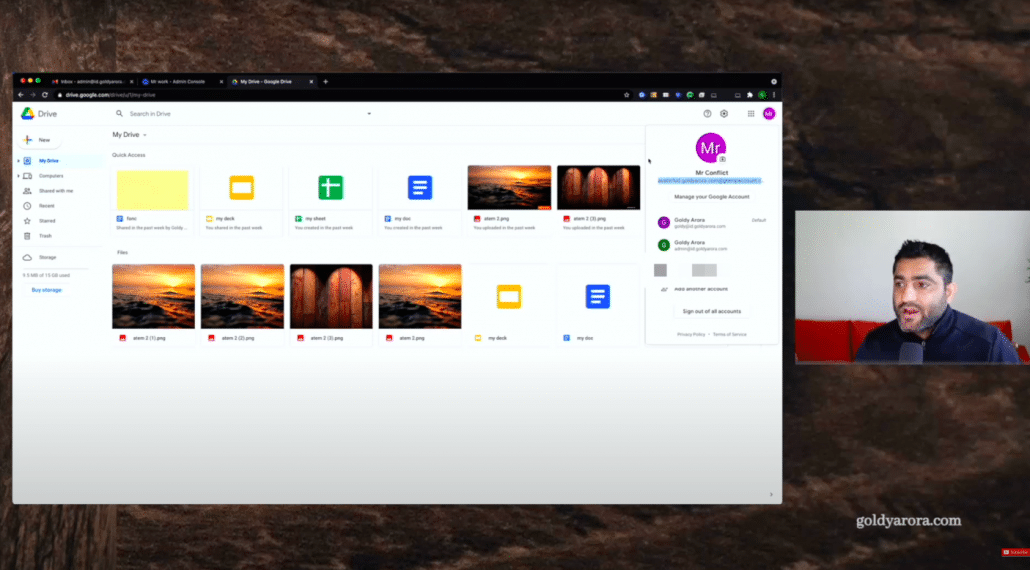
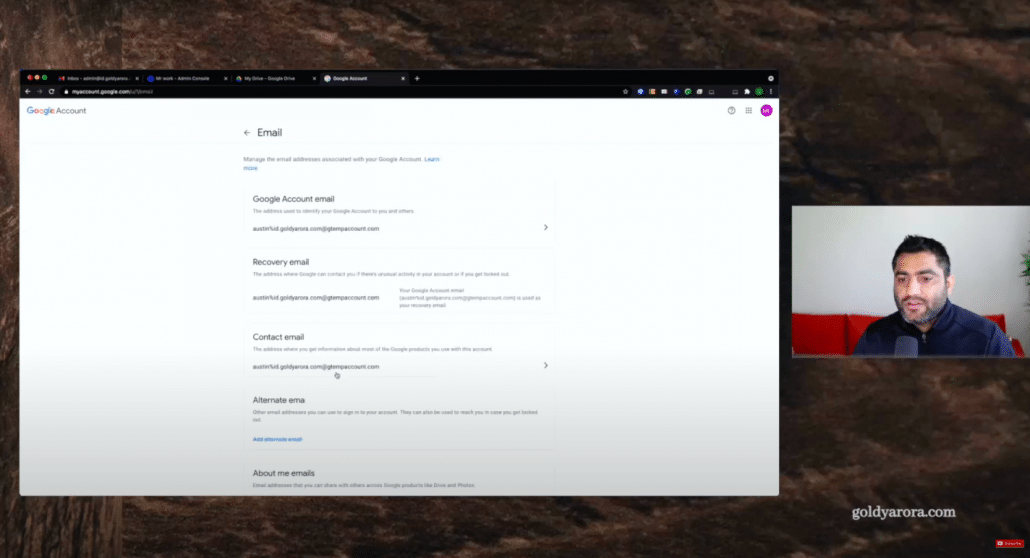
Okay, so as we discussed first, we will go to Manage Account here.
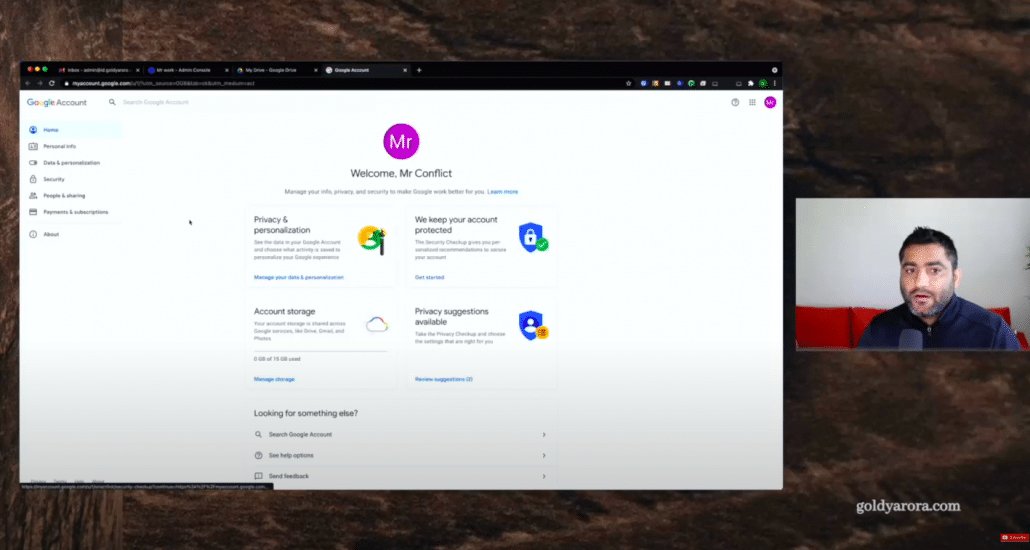
Under Manage account, we will go to Personal info and here we will see Austin's email, We'll click on that.
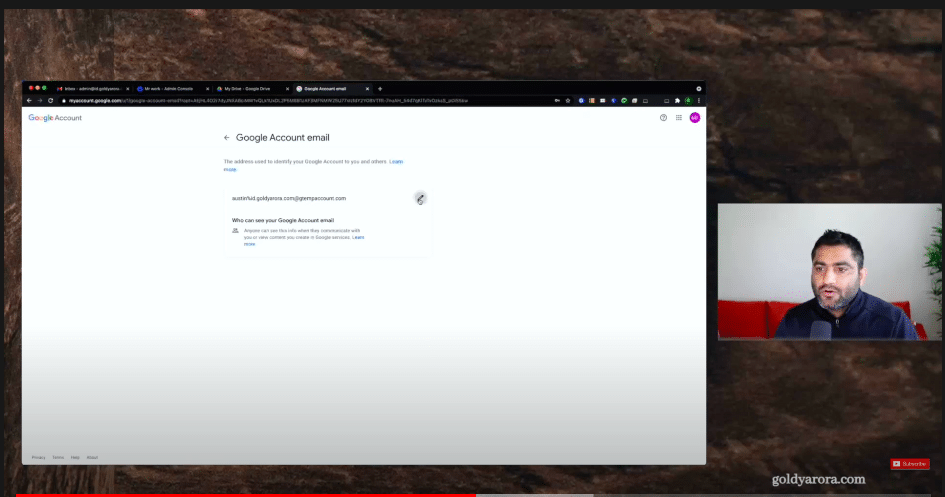
Here we will see Austin's email. We'll click on that, and then we will click on Google Account email.
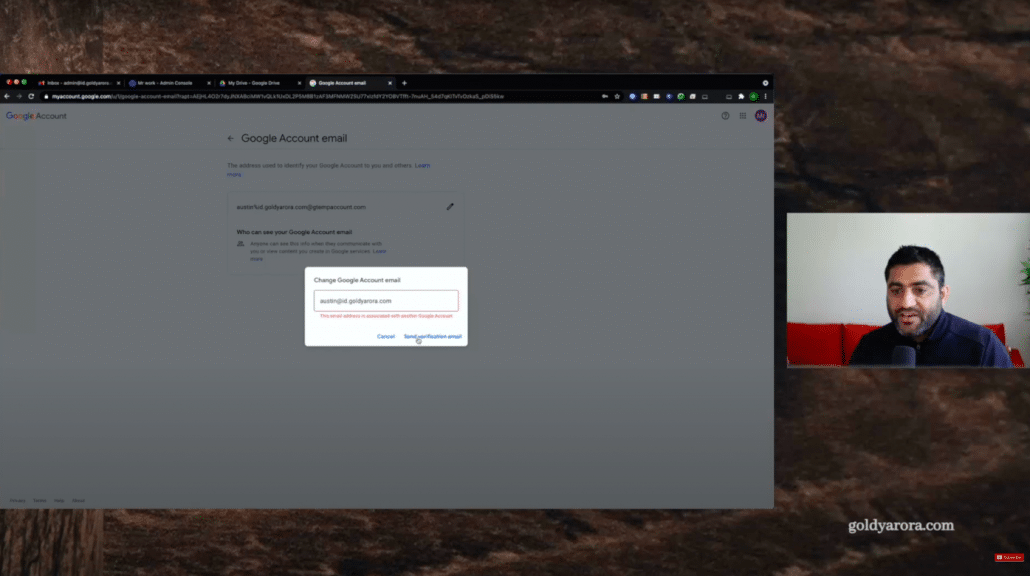
It will ask for Consumer Account password. Once we are here after putting password, we will click on Edit to change this email address.
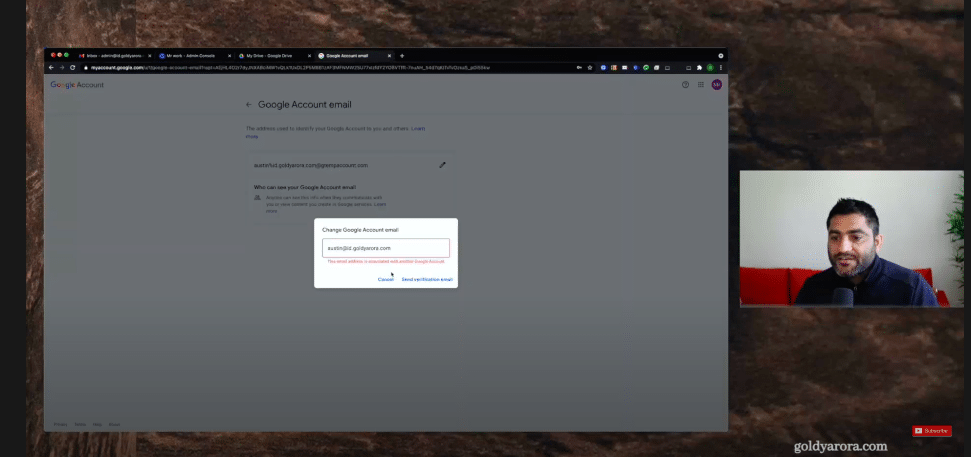
We will put the email address that we had originally, which is Austin at my domain. But if I click on Send Verification email, you will notice that Google gives us error.
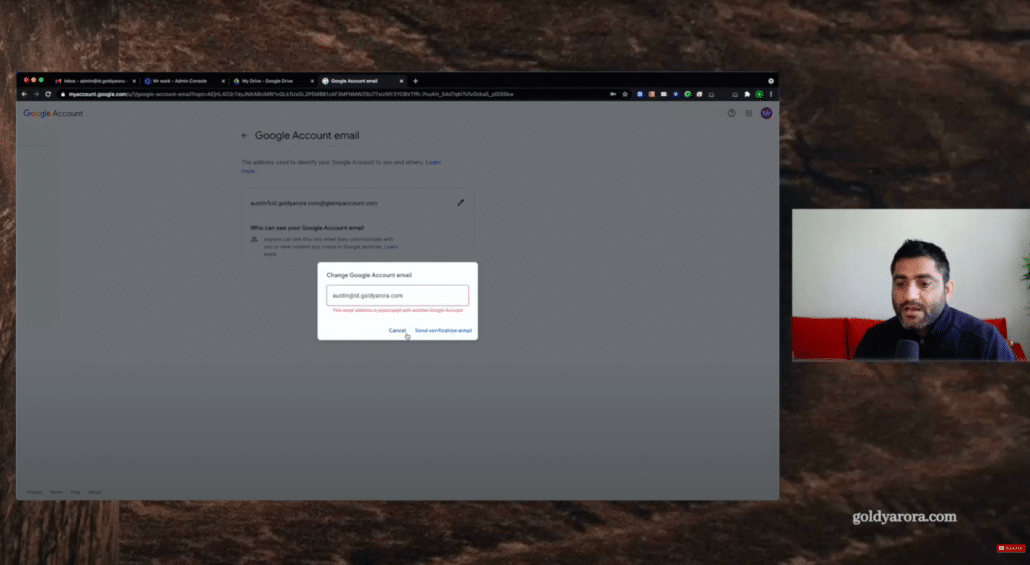
It says, oh, this email is associated with another Google account, so you can't claim it because email address is unique.
So what do we do now is go back to Admin console and we'll release this email so that Austin can claim this back here.
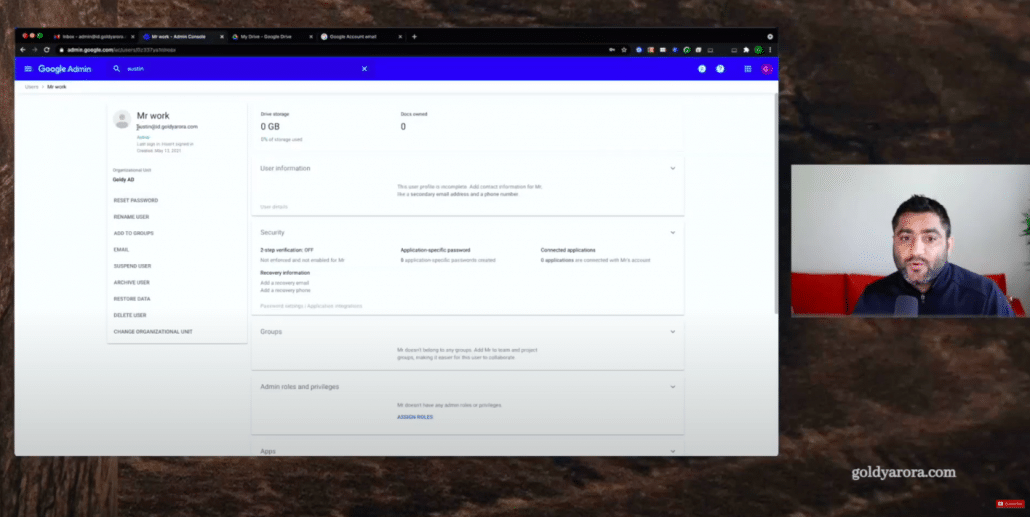
So here I will go ahead and I have two options. Either I can delete it if that's what is okay with you, or I can rename it. So for now I will prefer rename.
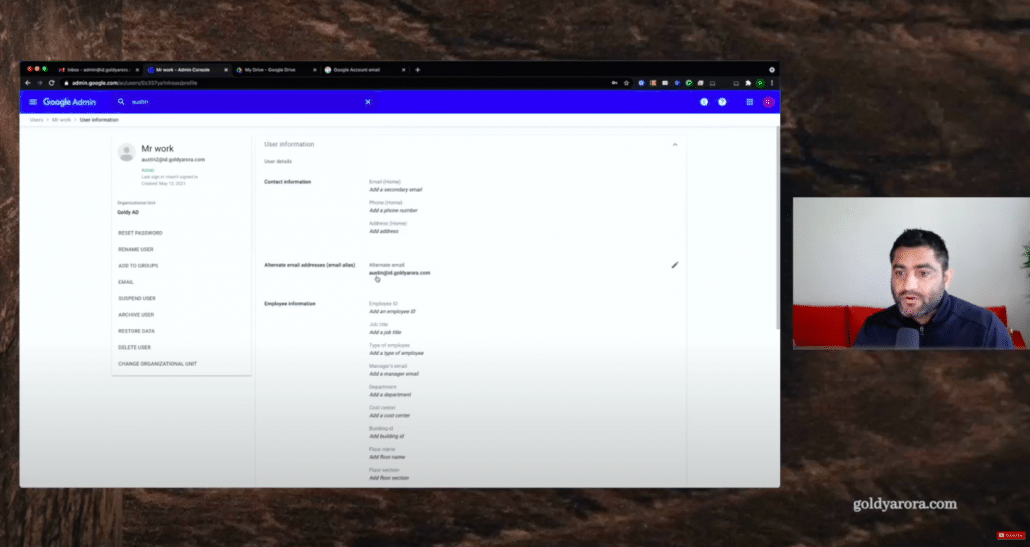
Now, a point to note here is that when you rename an email in Google Workspace (or in Cloud Identity) by default, Google creates the old email as an alias, so if I go to user information, you will see that nickname has been created, which is Austin.
So if we still go and click on Send Verification email, we will still get this error because that email is still associated as an alias.
So we'll come here and we will release that too, and click on Save.
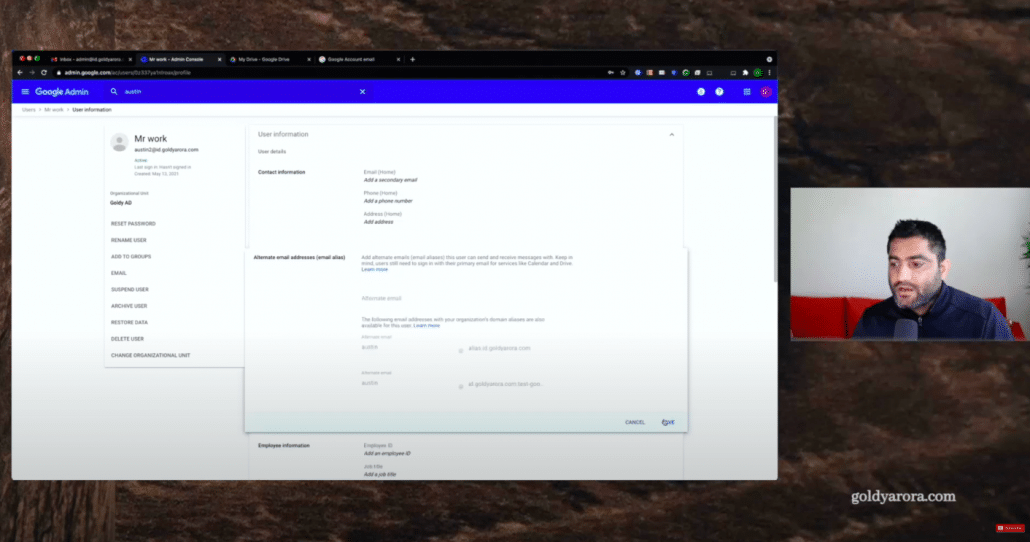
We have released that email. We do not have anything with Austin at domain com. So if we go here and click on Send Verification email, then this time it will work fine, An email will be sent to this ID.
Because we don't have the Austin account yet here in our console, that email will not be delivered.
So we need to make sure that we make some arrangement to receive email sent to this email address, and for that, you need to work with, of course, your Google Workspace or Google Cloud Identity admin.
In case if you're using Google Cloud Identity and your emails are pointing to, let's say office 365, then you will need to make that arrangement in Office 365.
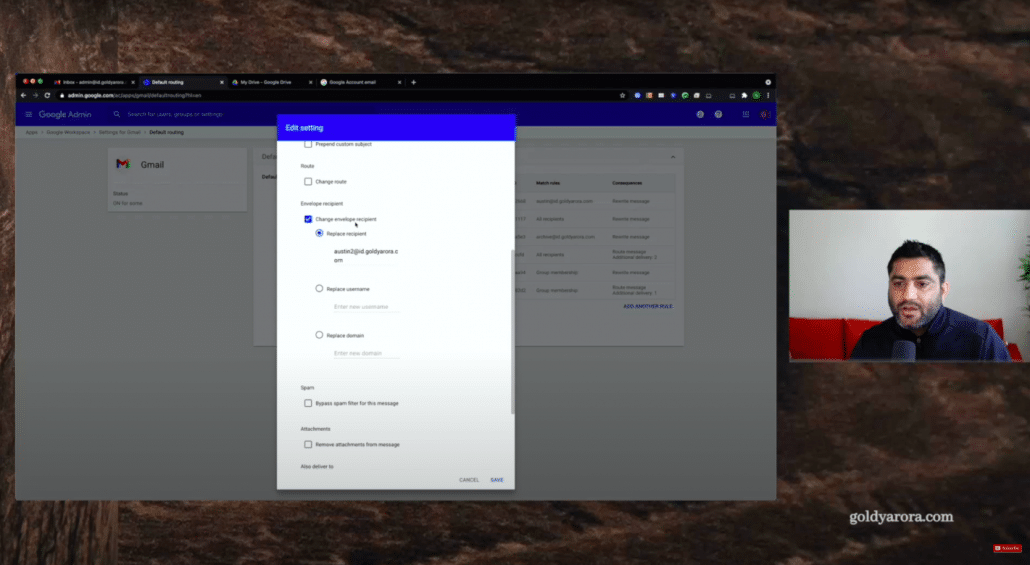
In my case, I'm using Google Workspace, So for that I will go to apps Google Workspace, and then I will go to Gmail and under Gmail, there are a few options to do this routing.
I will go for something called default routing and I will show you how you can create that specific rule.

Now, I already have a catch account in place and as you know, catch all simply means that if the mailbox does not exist in your Google Workspace, then that email, instead of bouncing, will come to some other mailbox.
I already have the Catch all, but you can also create a new rule here by adding another rule and your rule will say something like if the email comes to Austin or whatever that original email address is in your domain, then change that envelope recipient and send it to some other mailbox.
This mailbox can be the mailbox that you just renamed, or maybe your admin email address, etc. Okay, I have the casual account in place, so it will come to my catch all account too, This is my admin catch all account, so every email sent to non existing user account would come here.

So now I will go ahead and say that send verification email Google.We are ready to receive email sent to this email address. This time it will work Fine. It says okay.
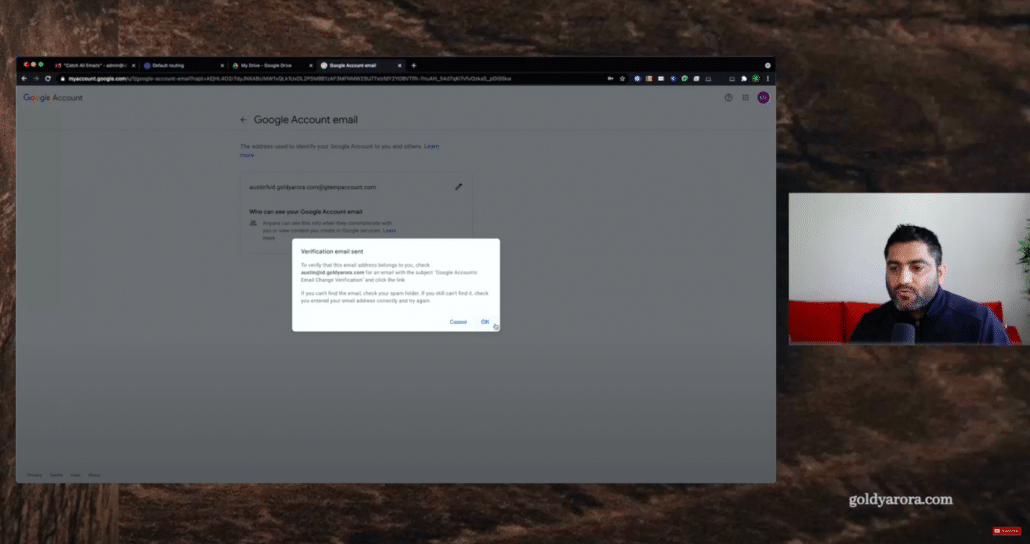
Now it says pending verification. If verified, then you will have a good news that your email has changed from Gtemp to this original ID.
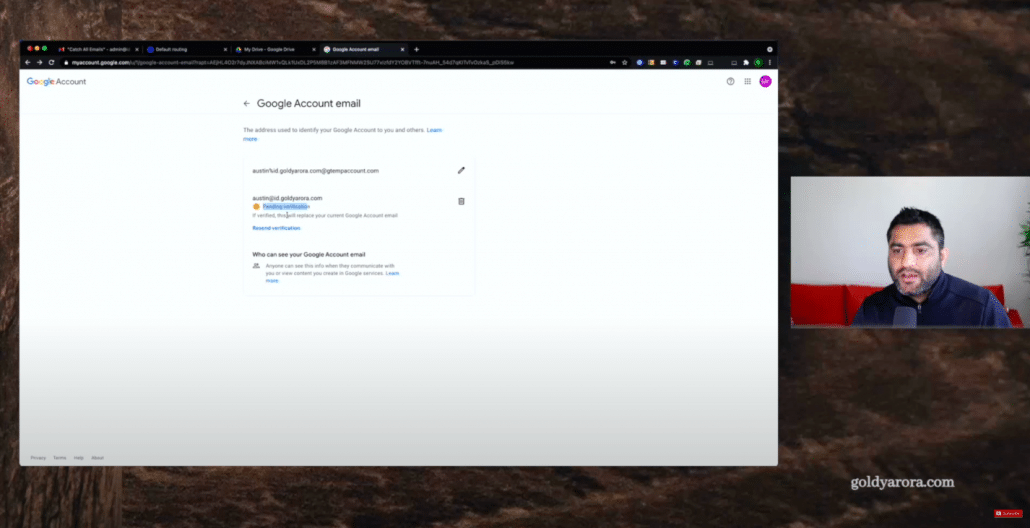
I will go back to my catchall account and do a quick refresh and to see if it landed there.
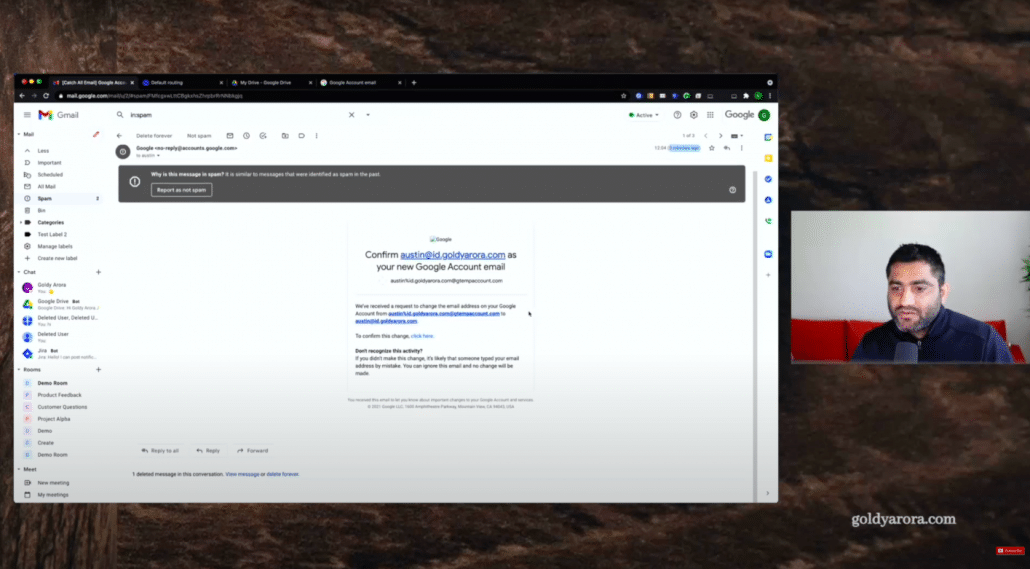
Now it says we have received a request to rename this. To confirm this change, click here and if you have a Catch all account, just click here.
it will ask you to log in with that email.
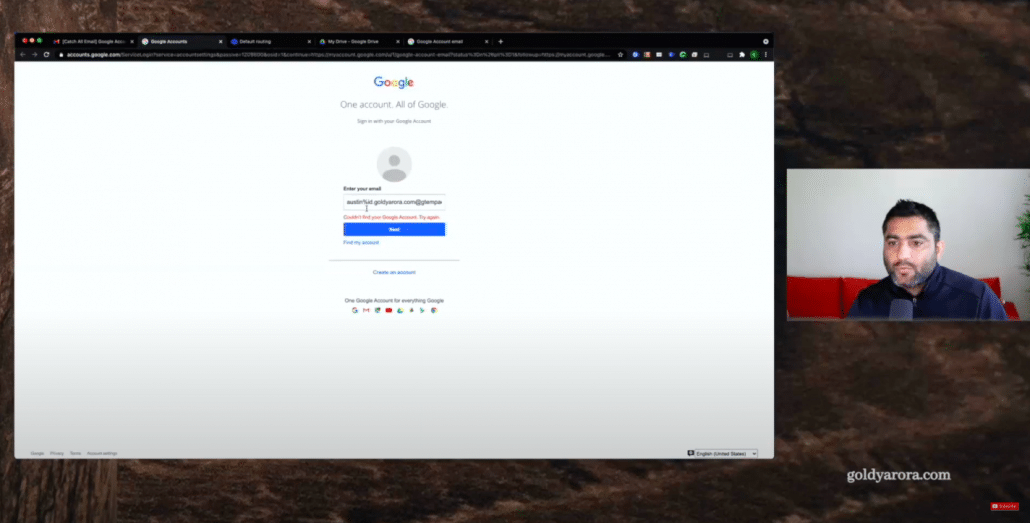
But don't worry about it. Once you click on that link, your email is verified.
So if I go back after clicking that link and do a quick reload, we have claimed our email back.

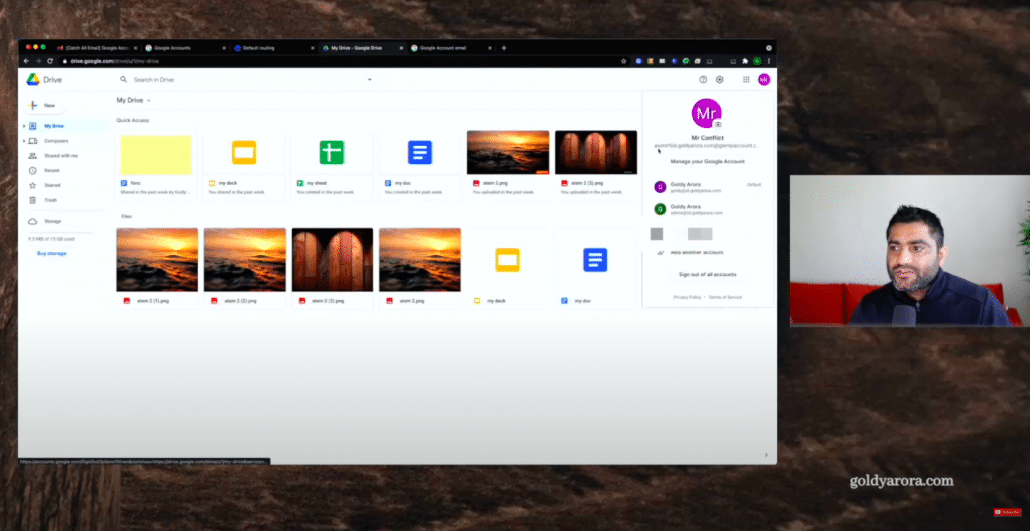
Now our email is back to the original one, So if I go to my Google Drive, you still see the old email, but let me do a quick refresh here. If I just refresh the screen, go back here and we are back to business now for future reference.
In case if you need to transfer this account, assuming you have some business data in this account to your work account, then there is another way that your Google admin should follow, which is send you a transfer request.
Once you have that request, it would say tell the user that your company has transitioned to Google Workspace or Google Cloud identity and requesting you to transfer your personal account to Work account.
If you accept that request, then your personal account will be converted to your corporate account, and all the data that you have in this account will be moved there in your Work account.
I have dedicated video covering that whole process, and I'll link that in the description below. Please check that out if that's your use case.
So I know it was a bit confusing, and it is a lengthy process, but unfortunately, this is the only way to reclaim the account, and one very important point to note here is that especially if you're a Google Admin, this cannot be done in bulk.
There is no API, there is now an automation possible for this. This has to be done manually for each user.
So that's why I usually say that when you would start provisioning users, you should always start with understanding what are Google Conflicting accounts and how should you handle them seamlessly.
Thank you so much, If you have any questions, comments, or feedback, do not hesitate to put that under this blog post, and I will be happy to collaborate.
Related Posts
....


